
Setting up Multifactor Authentication the right way – Part one: Enabling MFA
Multifactor Authentication is a hot topic at the moment. With the amount of attacks on cloud identities increasing each day, it is paramount to secure our identities. Multifactor Authentication plays a big part in this process.
But implementing MFA into an Microsoft 365 environment can be pretty confusing. Through this three part series I will guide you through the best practices of setting up MFA, disabling basic authentication and configuring a break the glass administrator account. This first part will focus on enabling Multifactor Authentication.
User based vs Conditional Access
Multifactor Authentication can be enabled in two different ways, enabling it on a user basis through the Office365 admin center or with a Conditional Access policy in Azure AD. The first way is the oldest and most known. Just navigate to https://account.activedirectory.windowsazure.com/UserManagement/MultifactorVerification.aspx and select the user for whom you want to enable MFA. The next time the user sign-ins, he will be prompted to configure Multifactor Authentication.
Enabling it by using Conditional Access enables you to enable MFA on a group basis and with much finer controls. It’s possible to only require MFA from non-company devices, only when accessing Sharepoint or when the user is out of the office.
Microsoft recommends enabling MFA through Conditional Access and in my experience, it’s much easier for the administrator. But there are some caveats however.
- An Azure AD Premium P1 license is required to unlock Conditional Access and at 5,40 euro per user, they don’t come cheap. (But they are worth every penny though)
- MFA through Conditional Access doesn’t support app passwords
- Not all MFA settings are configurable through Conditional Access
Next up, I will walk you through enabling MFA through CA & give an explanation about the last two caveats.
Creating the policy
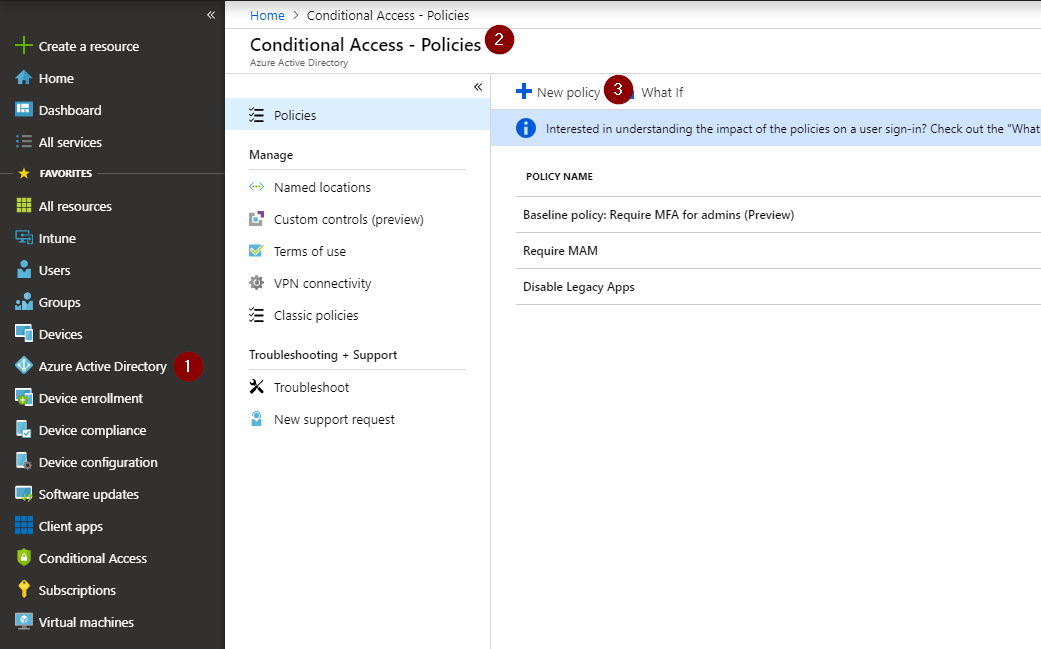
Navigate to portal.azure.com, select ‘Azure Active Directory’ in the left side menu and click ‘New Policy’
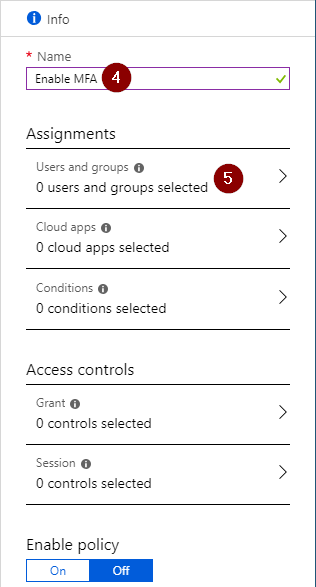
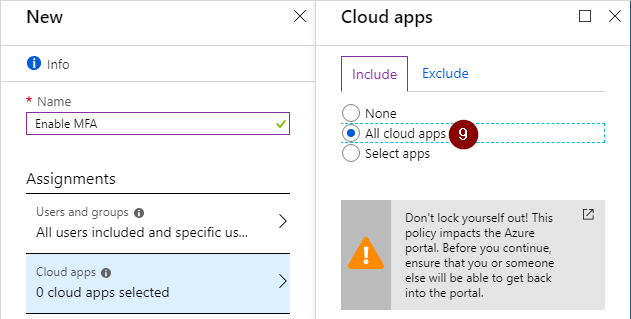
Fill in your desired policy name and select ‘Users and group’.
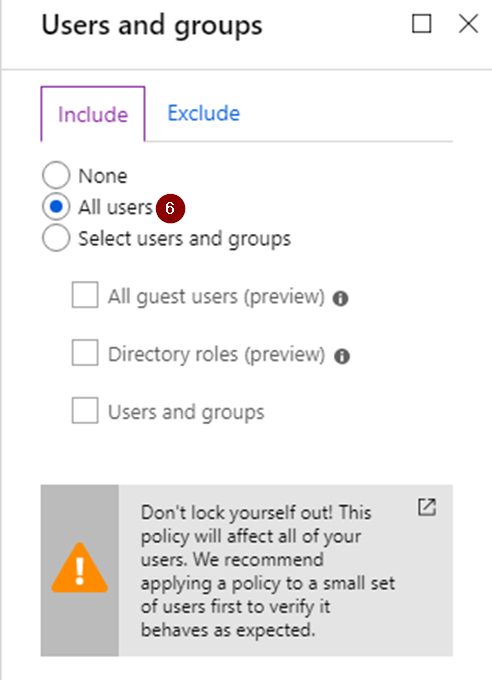
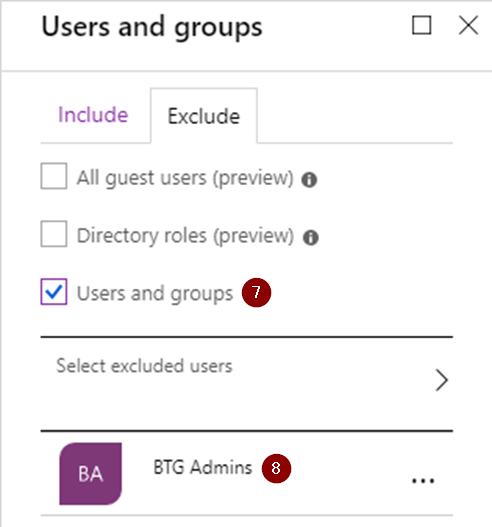
Choose which users you want to include/exclude in the policy.
In this example I chose to enable it for all users, but excluded my Break The Glass Administrator group (more info about those in the last part of this series). Remember that you should exclude any (service) accounts that use services that do not support Modern Authentication.
Select the cloud app for which you want to configure this policy. You can use granular controls here and specify different policies for different cloud apps.
For example: you might require MFA only when users are logged in on a non-company device, except when using the Azure portal, then MFA is always required.
Next up, we can configure the conditions for this policy. In this scenario I want to include all locations, but exclude the locations which I have marked trusted (typically these are your company’s external IP addresses).
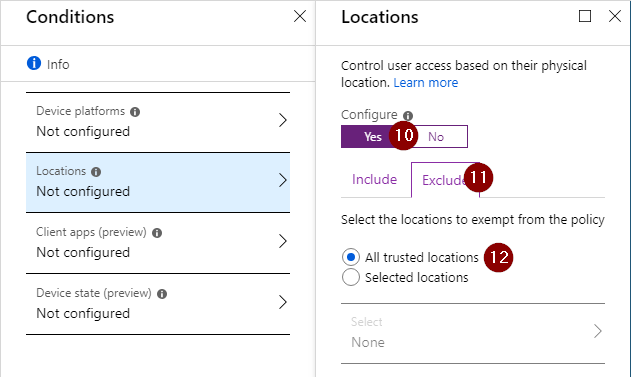
Finally we will require MFA by select ‘Grant Access’ and select the control ‘Multifactor Authentication’. When you are happy with your policy enable it and click done. Your CA policy is now configured.

End-user experience
All users that are affected by the Conditional Access policy will be required to register for MFA the next time they sign in.
If a user is not using a Modern Authentication capable device, he will not be able to log-in. This is one of the main differences between user based & CA MFA. When using user based MFA, the user can simply create an app password and ‘bypass’ MFA. With Conditional Access this is not possible, this means apps like Gmail and the regular ‘Email’ client on most Android devices will not function. The Outlook app for both Android & iOS and the native Apple mail app both support Modern Authentication.
App passwords are not recommended however because they are potential security flaws, I will explain this further in part two.
If the users want to change his MFA settings, he can surf to ‘aka.ms/mfasetup’ and update his MFA settings. It is recommend to create a policy to favorite this site on your users computers.
Configuring global MFA settings
One thing that needs improvement in the configuration of MFA with Conditional Access, is the configuration of global MFA settings. Default four authenticated methods are available:
- Microsoft authentication app notification
- Microsoft authentication app verification code
- Code by text
- Phone call
Some companies like to block one or more methods and this can’t be done from the AzureAD settings. Navigate to the MFA settings of Office365 to configure these.
MFA registration preview
At the moment of writing this blog, there is a preview for a combined registration process for both MFA and the Self Service Password Reset of Microsoft 365. You can enable it in a few easy steps.
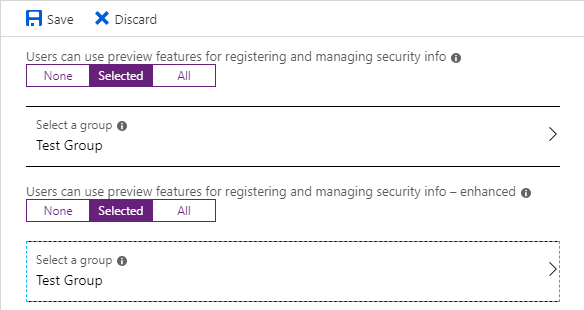
Go to your Azure AD properties, select ‘User Settings’ and then choose ‘Manage settings for access panel preview features’.
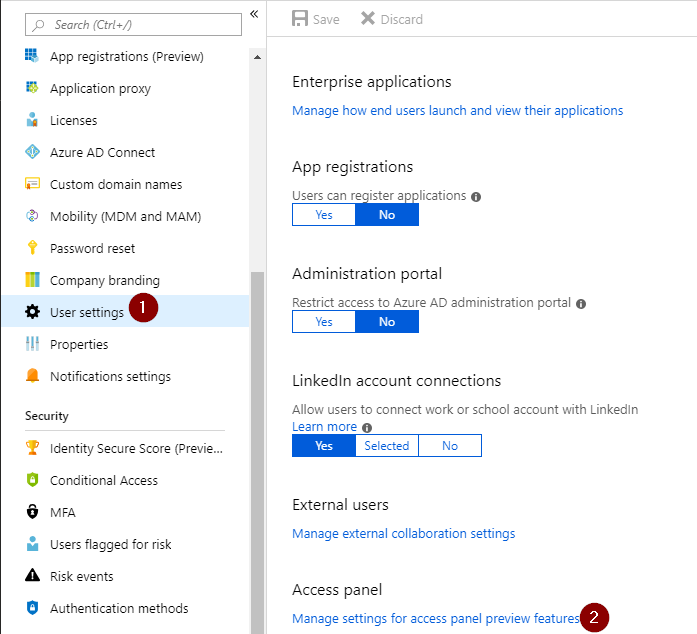
Here you can choose to enable the preview features for a group of users or for all users.
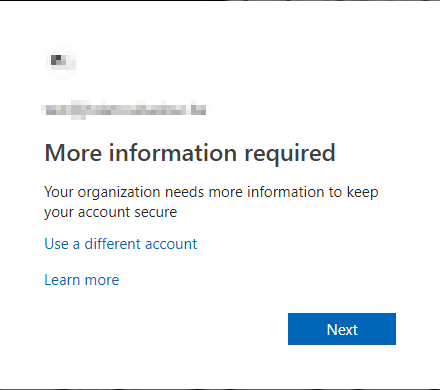
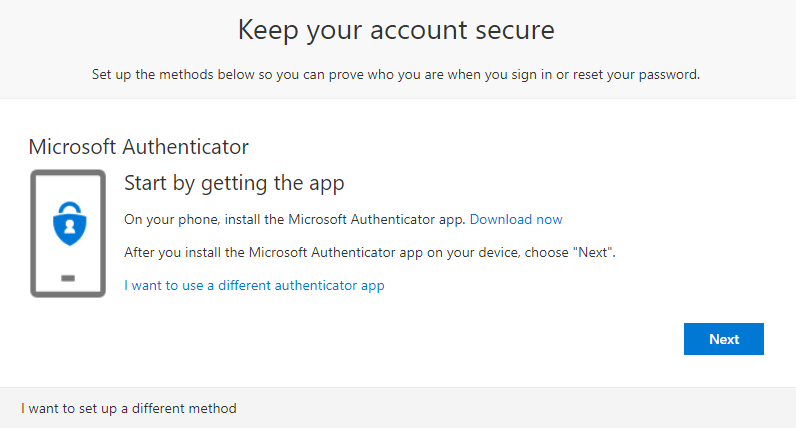
Members of this group will be greeted with the new registration process, which looks like this:


I am a 22-year old cloud and automation enthusiast. My main focus is EMS, Powershell and Azure. My scripts can be found through my GitHub account: https://github.com/thijslecomte. I am currently blogging at http://365bythijs.be
Heya, your Github page seems to have gone.
Any reason?
Hi, the link has been updated 🙂
https://github.com/ThijsLecomte
I am not really active on the site anymore, that’s why it’s a bit outdated.
very well explained, i started with individual groups and then enabled for all users.
Hi. Do you have a script in powershell that does this?